
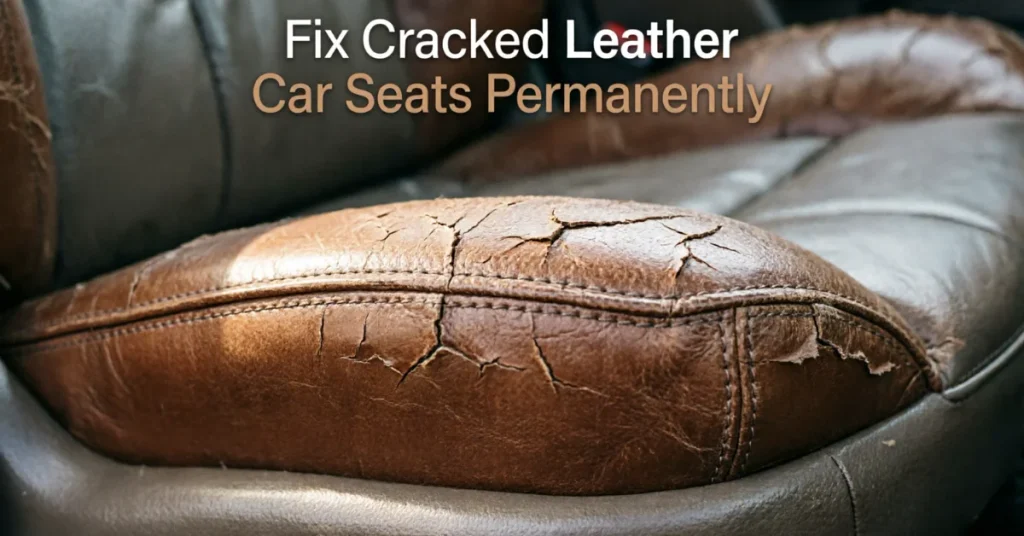
You noticed it on a hot afternoon, probably. A thin line running across the driver’s seat, right where your leg rests every time you get in. Once you spot it, you can’t unsee it. If you’ve searched for how to fix cracked leather car seats, you’re not dealing with a rare problem, and you’re definitely not stuck buying a new interior.
Cracked leather happens to almost every car with a leather or leatherette interior eventually. Heat, sun, body oils, and simple age dry out the material until it splits at the surface. The good news is that most cracks, even ones that look bad, can be repaired at home in an afternoon with a repair kit that costs less than a tank of gas.
This guide walks through why leather cracks in the first place, what actually works to fix it, when a DIY kit isn’t enough, and how to keep it from happening again.
Why Leather Car Seats Crack in the First Place
Leather isn’t a solid sheet of material. It’s a network of fibers held together by natural oils and moisture. When that moisture disappears, the fibers stiffen and lose their ability to flex. Sit down, twist, or shift your weight, and the surface splits instead of bending.
Sun exposure through the windshield speeds this up more than almost anything else. Parked cars can hit interior temperatures well above the outside air, and that heat pulls moisture out of leather day after day. A seat that gets direct afternoon sun for years will crack long before one kept in a garage.
Cold climates cause a version of the same problem that gets far less attention. Car heaters blow hot, dry air directly onto seats during winter, and that dry heat pulls moisture out of leather almost as fast as summer sun does. Owners in cold states often assume cracking is a warm-weather issue only, then get surprised when a garage-kept winter car develops the same splits by February.
Cheap or thin leather coatings make things worse. Many factory seats use a bonded leather or a leather-vinyl blend with a painted finish on top. Once that finish wears through at pressure points, like the bolster or the seat bottom, cracking follows fast because there’s no real leather thickness left to protect underneath.
Age and lack of conditioning play a role too. Leather that never gets cleaned or conditioned dries out from the inside, even if it never sits in direct sun. That’s why a garage-kept car can still develop cracks if the seats were neglected for years. Understanding these causes matters because how to fix cracked leather car seats properly depends on knowing what dried the leather out in the first place.
Full-Grain Leather vs. Bonded Leather: Why It Changes the Repair
Not all “leather” seats are the same material, and this matters more than most repair guides mention. Full-grain leather keeps its natural fiber structure all the way through, so a crack forms because the fibers themselves dried out. Repairing it means restoring flexibility to real leather, and the grain pattern under a magnifying glass looks irregular and organic.
Bonded leather and leatherette use scraps of leather fiber, or no leather at all, bonded to a fabric backing with a printed, painted top layer. When this cracks, it’s usually the paint coating splitting, not the underlying material. Good news for repair purposes: this type is often easier to color-match since the printed grain is more uniform than natural leather. The bad news is that once the coating wears through in a wide area, filler has less to grip onto, and re-cracking happens sooner without a fabric-backed patch underneath.
Anyone unsure which type they have can check the manufacturer’s build sheet or interior specs, since the repair steps below barely change either way, but knowing which material you’re working with sets the right expectations for how the final patch will look.
How to Fix Cracked Leather Car Seats: Step-by-Step Repair Process
Here’s the process that actually holds up, not the shortcut version you’ll see on cheap kit packaging.
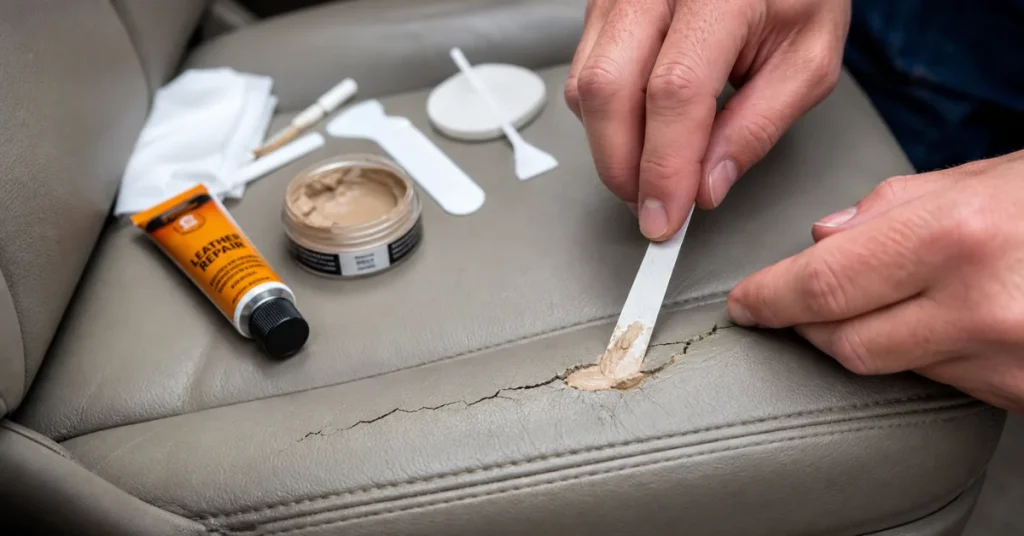
Step 1: Clean the area thoroughly. Use a mild leather cleaner, not household soap, and wipe down the cracked section along with a few inches around it. Dirt and oil left behind will stop the filler from bonding properly, and this step gets skipped more than any other.
Step 2: Trim loose edges. Small leather fibers sticking up around the crack need to go. A pair of fine scissors or a leather trimming tool works fine here. Leaving loose fibers under the filler causes bumps once everything dries.
Step 3: Apply the filler in thin layers. Leather filler, the flexible paste included in most repair kits, gets pressed into the crack with a spatula or old credit card. Thin coats matter more than one thick one. A single heavy application tends to crack again within months because it never fully cures through.
Step 4: Heat-set between layers. A heat gun or hair dryer on low, held a few inches away, cures each layer of filler in a couple of minutes. Skipping this step is the most common reason DIY repairs fail early.
Step 5: Sand and blend. Once the final layer cures, fine-grit sandpaper, around 400-grit, smooths the patch level with the surrounding leather.
Step 6: Patch test the colorant first. Before applying dye to the repaired area, test it on a hidden section of the seat, underneath the cushion or along the back edge where it won’t show. Colorants can dry darker or lighter than they look wet, and this one habit prevents the most common regret in home leather repair: a patch that doesn’t match once it’s fully cured.
Step 7: Match the color and texture. Repair kits usually include a colorant, and it needs several thin coats rather than one, with a grain pattern tool pressed into the wet dye to recreate the texture of real leather instead of leaving a flat, plastic-looking patch.
Step 8: Seal and condition. A leather sealant locks in the color and protects the repair from wear. Once that’s dry, a proper leather conditioner on the whole seat, not just the patch, helps everything blend and keeps the surrounding leather from cracking next.
Common Mistakes That Ruin a DIY Repair
A few habits separate a patch that disappears from one that stands out for years:
- Too much heat. A heat gun held too close scorches the filler or the surrounding leather instead of curing it evenly.
- One thick layer instead of several thin ones. This is the single biggest reason repairs re-crack within months.
- Skipping the sanding step. Filler left rough under the color coat shows every ridge once dye goes over it.
- No patch test. Applying colorant straight to the visible repair without testing it first is how mismatched patches happen.
- Conditioning only the patch. Treating just the repaired spot leaves the rest of the seat drying out, so a new crack shows up nearby within a year or two.
Real-World Repair Scenarios
A hairline crack on a seat bolster, the kind caused by sun exposure over a few summers, usually takes one round of filler and blends in well once colored. Owners who catch cracking early, before it widens past a few millimeters, get the cleanest results with a basic kit.
A wider crack that runs several inches, common on driver’s seats with heavy daily use, often needs a leather patch backing glued underneath before filler goes on top. Without that backing, the filler has nothing rigid to sit on and tends to sink or re-crack under weight.
Fleet vehicle owners and rideshare drivers dealing with cracking across multiple seats tend to buy a larger kit and treat the whole interior in one session, since color matching gets easier when you’re blending across a bigger surface rather than trying to hide one small patch next to unrepaired leather.
DIY Kit vs. Professional Upholstery Repair
Most people who search for how to fix cracked leather car seats want a weekend project, not a shop invoice, which is exactly what makes repair kits so popular. A repair kit runs somewhere between five and twenty dollars and handles small to medium cracks well, provided you’re patient with the color-matching stage. Anyone who has tackled this kind of repair knows the process rewards slow, thin layers over rushing to finish in twenty minutes.
Professional upholstery shops make more sense for cracks that go all the way through the leather, seats with structural tears alongside the cracking, or interiors where an exact factory color match matters, like a car being sold or kept for resale. A shop repair typically runs into the hundreds of dollars but includes proper stitching and color-matching equipment a home kit can’t replicate.
| Factor | DIY Repair Kit | Professional Shop |
|---|---|---|
| Cost | $5 – $20 | $150 – $400+ |
| Time needed | One afternoon | One to three days |
| Best for | Hairline to medium cracks | Deep splits, tears, resale-grade color match |
| Color match quality | Good, with patience | Excellent, factory-level |
| Tools required | Kit + heat gun/hair dryer | None, done by technician |
| Warranty on work | None | Often 6–12 months |
Repair Method by Crack Severity
| Crack Type | What It Looks Like | Recommended Fix |
|---|---|---|
| Hairline crack | Fine surface lines, no gap | Conditioner or light filler, one layer |
| Medium crack | Visible split, slight gap | Filler in thin layers, color match, seal |
| Deep crack or split | Gap opens when seat is pressed | Backing patch glued underneath, then filler |
| Torn edge | Leather separated at a seam or edge | Professional stitching recommended |
How to Fix Cracked Leather Car Seats Without a Repair Kit
Not everyone wants to buy a dedicated kit, and there’s a lower-cost route for very minor cracking. A leather conditioner applied daily for a week can soften hairline cracks enough that they become far less visible, though this only works on surface-level cracking, not splits that have opened up a gap. For anything past a hairline, skipping straight to filler saves time rather than conditioning first and discovering it wasn’t enough.
Some owners use a flexible leather glue and a matching leather scrap cut to size as an improvised patch for wider tears, gluing it underneath the crack before filling over the top. It works, but it takes more patience than a kit built specifically for the job, and matching color without a proper colorant set is harder than it looks.
What the Research Shows
Detailed looks into automotive interior wear consistently point to UV exposure as the leading cause of leather breakdown in vehicles, ahead of general aging or cleaning habits. Photodegradation, the process where light energy breaks down the chemical bonds in leather, strips away natural oils and leaves the material brittle well before it would otherwise wear out.
Professionals who work in interior restoration report that seats parked in direct sun for years crack in the exact locations you’d expect, the bolsters and high-contact areas, which lines up with why prevention advice always centers on shade and regular conditioning rather than anything more complicated.
Does Warranty or Insurance Cover Cracked Leather Seats?
This question comes up often and the honest answer disappoints most owners: cracked leather is treated as normal wear and tear by nearly every manufacturer warranty, so it isn’t covered once a vehicle is out of its bumper-to-bumper period. Insurance follows the same logic. Comprehensive coverage handles sudden damage like a fire or vandalism, not gradual drying from sun and age. The one exception worth checking is an extended interior protection plan purchased separately at the dealership, which sometimes does cover cracking within a set number of years. Reading that paperwork before assuming coverage exists saves a wasted trip to the dealer.
Preventing Cracks From Coming Back
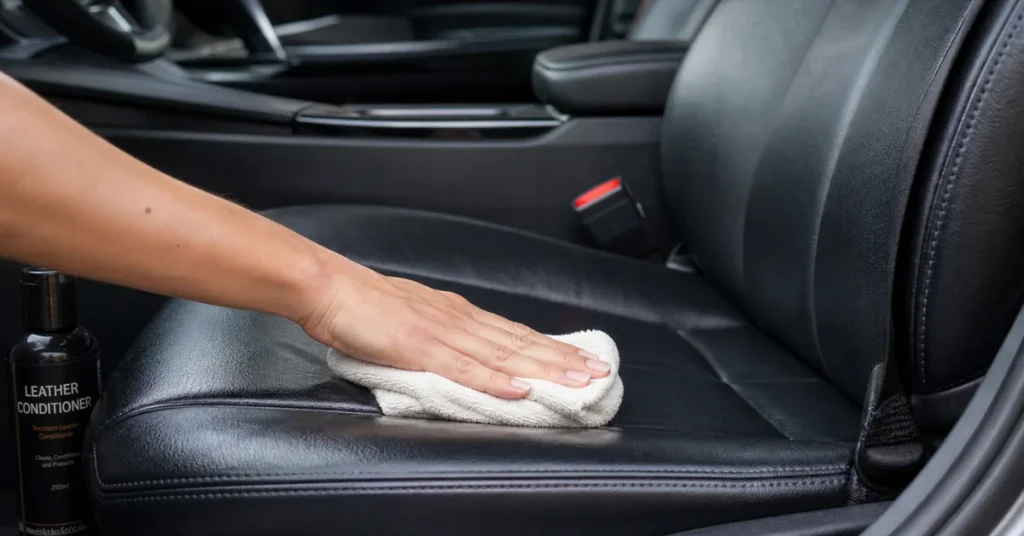
A conditioned seat resists cracking far longer than a dry one. Applying leather conditioner every one to two months keeps the natural oils replenished, and it takes less than ten minutes per session.
Parking in shade, or using a windshield sunshade even on mild days, cuts down the heat buildup that dries leather out fastest. A seat cover for long-term parking outdoors adds another layer of protection, particularly for anyone who can’t avoid street parking.
Cleaning matters more than most people expect. Body oils and dirt work their way into leather pores and speed up drying from the inside, so a wipe-down with proper leather cleaner every couple of weeks does more for long-term durability than people give it credit for.
Winter owners should point cabin heat away from seats when possible, or keep the vents on a lower setting once the interior warms up, since constant direct hot air does to leather in January what the sun does in July.
For Owners With Vinyl or Leatherette Seats
Not every seat labeled “leather” is full-grain leather, as covered above. Many economy and mid-range trims use bonded leather, leatherette, or vinyl with a leather-look coating, and these materials crack differently. Repair kits still work on these seats, but color-matching tends to be easier since the coating is more uniform than natural leather grain.
Getting It Right the First Time
Learning how to fix cracked leather car seats isn’t about perfection on the first try. It’s a slow, layered process, and the difference between a patch that looks obvious and one that disappears into the seat almost always comes down to thin coats, patience with the color match, and conditioning the whole seat afterward rather than just the repaired spot. Once the crack is filled and sealed, a regular conditioning habit, in both summer heat and winter dry air, is what keeps you from doing this again in another two years.
FAQs
Can a small crack in leather car seats be fixed permanently?
A properly filled and sealed crack holds up well for years, though “permanent” depends on ongoing conditioning. Skipping maintenance afterward lets the surrounding leather dry out and crack again nearby.
How long does a leather car seat repair take to dry?
Each layer of filler cures in a few minutes with a heat gun, but the full repair, including color and sealant, usually needs two to four hours from start to finish, plus overnight before heavy use.
Will the repaired area match the rest of the seat exactly?
A patient color-matching process gets very close, especially on solid-color interiors. Two-tone or heavily worn seats are harder to match perfectly, which is where professional shops have an edge.
Is it cheaper to repair or replace cracked leather seats?
Repair almost always costs less, often under thirty dollars in materials for DIY work versus hundreds for reupholstering or seat replacement.
Do leather repair kits work on cracked vinyl or leatherette too?
Yes. Most kits are formulated for leather, vinyl, and faux leather alike, since the filler and colorant process works the same way across all three.