
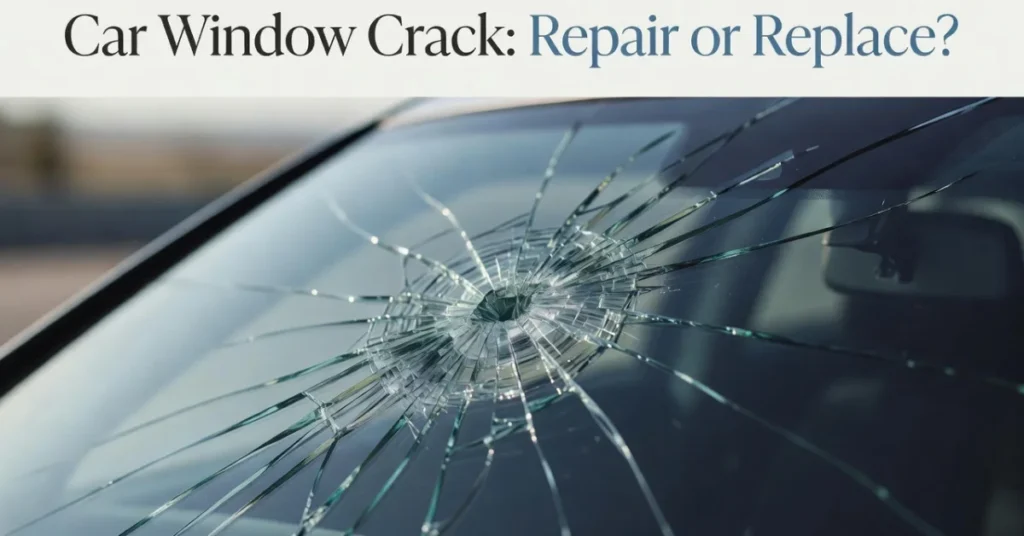
A rock kicks up on the highway, there’s a sharp tap against the glass, and now you’re staring at a line running across your windshield. Figuring out how to fix a car window crack starts with one question most drivers skip: is this even a windshield problem, or did the damage happen on a side window instead? The answer changes everything about what happens next.
That distinction isn’t just semantics. Windshields and side windows are built from completely different types of glass, and only one of them can actually be repaired once it cracks. Get this wrong and you’ll waste money, time, or worse, drive around with a compromised piece of safety equipment.
How to Fix a Car Window Crack: Repair or Replace First
Before touching any tool, figure out what kind of glass you’re dealing with. The windshield is laminated safety glass, two sheets bonded around a plastic interlayer. That construction is exactly why chips and small cracks can be filled with resin instead of replaced outright.
Side and rear windows are a different story. They’re tempered glass, heat-treated so that if they ever fully break, they shatter into small pebbles instead of jagged shards. Useful for safety. Not so useful for repair, because tempered glass can’t hold a resin fill the way laminated glass can.
For windshields specifically, professionals lean on a fairly consistent size rule:
- Chips smaller than a quarter, about an inch across, are usually repairable
- Cracks shorter than roughly three to six inches often qualify for resin repair, depending on the shop
- Damage that reaches the edge of the glass, sits directly in the driver’s line of sight, or covers an area with a forward-facing camera almost always means replacement
- Anything longer than a dollar bill, or more than three separate impact points, typically pushes the job into replacement territory
So when someone asks how to fix a car window crack, the honest first answer is: measure it, check where it sits, and confirm which type of glass got hit.
Here’s a quick decision matrix worth bookmarking before you call anyone:
| Damage Type | Size | Location | Likely Verdict |
|---|---|---|---|
| Chip (star or bullseye) | Under 1 inch | Away from edge and sightline | Repair |
| Short crack | 1 to 3 inches | Away from edge | Repair, if caught early |
| Crack | 3 to 6 inches | Away from edge, outside sightline | Possibly repairable, shop dependent |
| Any crack | Any length | Reaches the glass edge | Replace |
| Any chip or crack | Any size | Directly in driver’s sightline | Replace |
| Any chip or crack | Any size | Over an ADAS camera zone | Replace |
| Multiple chips | 3 or more impact points | Anywhere | Replace |
| Any crack on side/rear window | Any length | Anywhere | Replace (tempered glass can’t be resin-repaired) |
The DIY Repair Kit Process, Step by Step
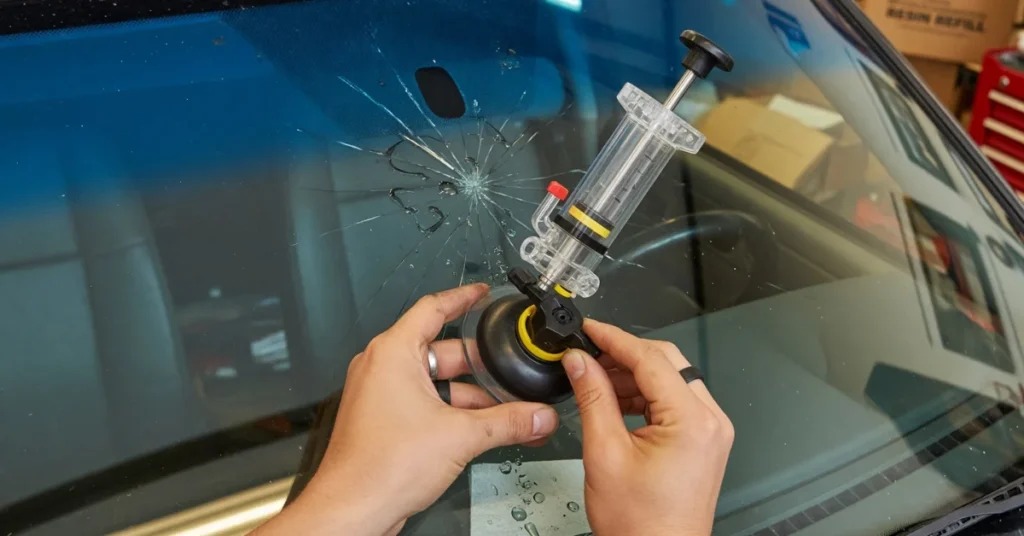
If the damage on your windshield fits the small-chip or short-crack category, a resin kit can genuinely work. Anyone who’s actually run one of these kits knows the process isn’t complicated, but timing and cleanliness matter more than most people expect.
Here’s the general sequence:
- Park in a shaded, temperature-stable spot. Direct sun or a cold garage both interfere with resin curing.
- Clean the damaged area with glass cleaner and a lint-free cloth, then let it dry completely.
- Attach the kit’s suction-cup applicator directly over the chip or crack.
- Inject the resin slowly, using the supplied syringe or pump to draw out trapped air first.
- Let the resin sit for the time listed on the kit, usually ten to thirty minutes.
- Apply the curing strip and let UV light or sunlight set the resin.
- Scrape away excess resin with a razor blade held flat against the glass.
Done carefully, this restores most of the glass’s strength and makes the damage far less noticeable. It won’t be invisible. A faint mark often remains, and that’s normal. The goal here is structural soundness, not a flawless finish.
One thing worth knowing from experience: cheap kits sold for under fifteen dollars tend to use thinner resin that shrinks slightly during curing, which can leave a small air pocket. It still beats a full replacement for a minor chip, but don’t expect showroom results.
When a Cracked Side Window Means Replacement, Not Repair
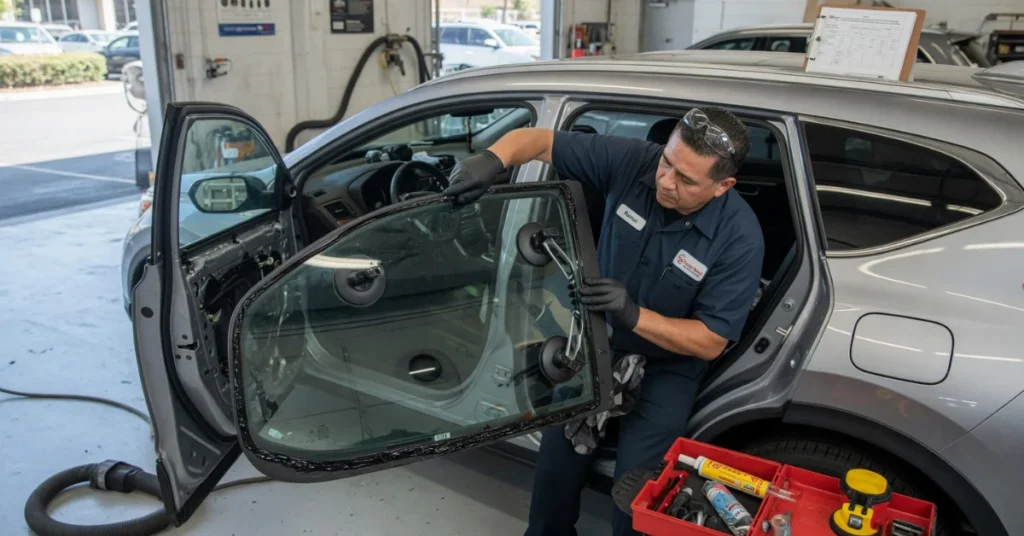
This is where a lot of drivers waste time searching for a fix that doesn’t exist. Because side and rear windows are tempered, not laminated, there’s no resin process that restores their strength once cracked. The internal stress pattern baked into tempered glass during manufacturing is what gives it that pebble-shatter behavior, and a crack disrupts that pattern permanently.
A cracked side window that hasn’t fully shattered yet can sometimes hold together for a short while, especially with clear packing tape applied on both sides to reduce vibration. That’s a stopgap, not a solution. Temperature swings, a slammed door, or a pothole can finish the job at any moment.
If you’re dealing with a side window, skip the resin kit entirely and move straight to sourcing a replacement pane, either through a mobile auto glass service or a local shop.
What the Research Shows
Detailed analysis of windshield damage patterns consistently points to one theme: speed matters more than almost any other factor. Most guides on how to fix a car window crack skip this part, but the data is clear. A chip that gets treated within days is far more likely to qualify for a simple resin repair than one left to sit through a few weeks of temperature swings and highway vibration.
Cost-wise, professional chip repair typically runs somewhere in the $60 to $100 range per chip in the United States as of 2026, with discounts common when a shop handles two or three chips in the same visit. Full windshield replacement costs considerably more and varies widely depending on whether the vehicle has driver-assist cameras built into the glass, since those systems often need recalibration after installation.
Industry data on repairability is fairly consistent too: the vast majority of small chips and short cracks, when caught early, are candidates for repair rather than replacement. That gap between “repairable in theory” and “actually repaired” comes down almost entirely to how long drivers wait before doing anything about it.
How to Fix a Car Window Crack Without Making It Worse
There’s a specific set of mistakes that turns a fifteen-dollar fix into an eight-hundred-dollar replacement. Watch for these:
Blasting it with hot or cold air. Rapid temperature change is one of the fastest ways to grow a small crack into a long one. Skip the defroster on full blast and avoid parking a cracked windshield in direct summer sun for hours.
Waiting it out. A crack doesn’t heal. Dirt, moisture, and road grime work their way into the gap, and once that happens, resin can’t bond properly anymore.
Driving over rough roads without caution. Vibration is the enemy of a fresh crack. Potholes and speed bumps flex the glass exactly where it’s already weak.
Washing the car through an automated car wash. The pressure and brush contact can widen existing damage, especially near the edges.
Ignoring edge cracks. Damage that touches the perimeter of the glass carries the most structural stress and spreads fastest. This is the one type of crack where waiting almost never pays off.
Reaching for household fixes. Toothpaste, nail polish, and super glue show up constantly in DIY forums as quick fixes, and all three make things worse. Toothpaste dries brittle and flakes out within days. Nail polish yellows and won’t bond with the resin a technician later tries to inject. Super glue cures too fast and too rigid, which traps air inside the crack and blocks a proper repair entirely. If a real fix has to wait a day, clear packing tape on the outside surface only is the safer stopgap.
Insurance, Cost, and What to Expect at the Shop
Many comprehensive auto insurance policies cover windshield chip repair with no deductible at all, since paying for a small resin job is cheaper for the insurer than covering a full replacement down the road. It’s worth a quick call to your provider before paying out of pocket. Some states even require zero-deductible glass coverage by law.
At a shop, expect the repair itself to take under an hour for a single chip. Replacement jobs run longer, often one to two hours for the install itself, plus what’s called the safe drive-away time, the point where the urethane adhesive has cured enough to hold the glass under real driving stress. Fast-cure adhesives reach that point in as little as thirty to sixty minutes; standard adhesives can need several hours, and full cure can stretch past a full day depending on temperature and humidity. Anyone who’s had a windshield swapped knows the shop will usually tell you to avoid highway speeds and slamming doors for that first stretch while the bond sets.
There’s also a cost that catches a lot of drivers off guard: ADAS calibration. If your vehicle has lane-keep assist, automatic emergency braking, or adaptive cruise control, the forward-facing camera mounted near the rearview mirror almost always needs recalibrating after a windshield swap, since even a millimeter of position change throws off how the camera reads the road. Recent industry data puts the average calibration cost around $360, with a realistic range of $250 to $700 depending on the vehicle and whether the shop uses static calibration, dynamic road-test calibration, or both. Ask about this before booking, not after the invoice arrives.
Which Type of Driver Needs This Guide Most
Not every driver facing this problem has the same situation, and it’s worth calling out a few groups directly.
Daily commuters on highways are the most frequent candidates for rock chips, simply from exposure to trucks and debris at speed. Catching damage early matters most for this group since the glass gets stressed constantly.
Owners of newer vehicles with forward-facing cameras, lane-assist, or automatic braking need to treat any windshield damage near the camera housing as a likely replacement case, not a repair one, because resin distortion in that zone can throw off sensor calibration.
Drivers in cold-climate regions deal with a unique risk: a small chip that seemed stable in October can spread rapidly the first hard freeze hits, since contracting glass puts extra stress on existing weak points.
Renters and leased-vehicle drivers should check their lease terms specifically. Some agreements require professional repair documentation rather than a home resin kit, even for minor chips.
Final Thoughts
Knowing how to fix a car window crack really comes down to three decisions made quickly: identify the glass type, measure the damage, and act before it spreads. Small windshield chips and short cracks are genuinely fixable at home or at a shop for modest cost. Side and rear window cracks almost always mean replacement, no matter how minor they look at first glance. Either way, the worst move is doing nothing and hoping the problem stays small on its own.
FAQs
Can I drive with a cracked windshield?
It depends on the size and location. Small chips away from the driver’s sightline are generally legal short-term, but cracks that spread across the glass or sit at eye level can fail a vehicle inspection and pose a real visibility risk.
How long does a windshield resin repair last?
A properly done repair should last the life of the windshield in most cases, though the treated spot itself won’t spread further once cured correctly.
Does temperature really affect a car window crack?
Yes. Rapid heating or cooling causes the glass to expand or contract unevenly, and that stress often turns a small chip into a long crack within hours.
Is it cheaper to repair or replace a cracked windshield?
Repair is almost always cheaper, often under $100 per chip, while full replacement can run several hundred dollars depending on the vehicle and whether camera recalibration is needed.
Can a cracked side window be fixed with a repair kit?
No. Side and rear windows use tempered glass, which shatters rather than cracks cleanly, so resin kits don’t work on them. Replacement is the only real fix.